Visual Testing 是我所接触的测试方法中最直观的,也是效果最明显的。
1. 什么是 Visual Testing?
简单的说,Visual Testing 就是从视觉效果上测试。 更加全面的解释,参见 《What is Visual Testing? A comprehensive explanation》
为什么要使用 Visual Testing 呢?
最简单的原因就是快速,直观,不易遗漏。
2. 如何做 Visual Testing?
Percy.io 是一个性价比高的 Visual Testing 平台,对个人项目或者小团队非常实用。
Percy 提供多种集成方式,本文中选择从 E2E Testing 集成 Visual Testing。
1. 安装 @percy/cypress
yarn add --dev @percy/cypress2. 在 cypress/support/commands.js 添加 @percy/cypress
// At the top of cypress/support/commands.js
import "@percy/cypress"
3. 在 cypress/plugins/index.js 添加 percyHealthCheck
// In cypress/plugins/index.js
let percyHealthCheck = require("@percy/cypress/task")

module.exports = (on, config) => {
  on("task", percyHealthCheck)
}
4. 在 Cypress 测试代码中添加 Percy 代码
// cypress/integration/login.js
it("visual testing for login page", () => {
cy.visit("/login")
cy.percySnapshot()
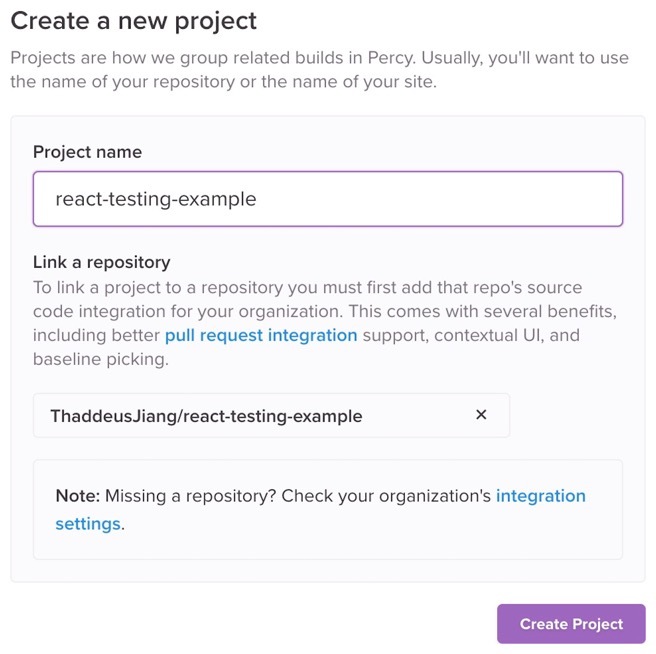
})5. 登陆 [Percy](https://percy.io/) 新建项目,并获得 Token
6. 通过 Percy 启动 Cypress
$ PERCY_TOKEN=xxx percy exec -- cypress run3. 常见问题
1. 如何自动化测试
以 GitHub Actions 为例:
第一步:定义 npm scripts
// package.json
"scripts": {
  "start": "react-scripts start",
  "build": "react-scripts build",
  "test": "react-scripts test",
  "cy:open": "cypress open",
  "start-server": "npm start",
++  "cy:record": "percy exec -- cypress run --record",
  "cy:ci": "start-server-and-test start-server http://localhost:3000 cy:record"
},
第二步: 定义 .github/workflows/pull_request.yml
name: "PR Checks"

on: pull_request

jobs:
  test:
    name: E2E Tests
    runs-on: ubuntu-latest
    steps:
      - name: Check out code
        uses: actions/checkout@master

      - name: Install dependencies
        run: yarn install --non-interactive --no-progress --frozen-lockfile --ignore-optional

      - name: E2E Tests
        run: yarn cy:ci
        env:
          CYPRESS_RECORD_KEY: ${{ secrets.CYPRESS_RECORD_KEY }}
++          PERCY_TOKEN: ${{ secrets.PERCY_TOKEN }}
source code: https://github.com/ThaddeusJiang/react-testing-example/pull/3
refs:
- https://percy.io
- https://docs.percy.io/docs/cypress
- 《What is Visual Testing? A comprehensive explanation.》 https://applitools.com/blog/visual-testing